
Welcome, fellow adventurers! Are you ready to embark on an exciting bike ride with your friends or family? Well, I’ve got great news for you! In this how-to guide, I am going to show you exactly how to put a girls’ bike on a car bike rack.
As an affiliate, we earn from qualifying purchases. We get commissions for purchases made through links in this website’s posts from Amazon and other third parties.
Imagine the ease and convenience of transporting your beloved bike without any hassle. You’ll have more time for thrilling adventures and less time worrying about how to securely fasten your bike to your car. So, gear up, and let’s dive into this step-by-step guide together, ensuring a smooth journey right from your very own garage to your favorite biking spot.
How to put a girls’ bike on a car bike rack? quick tips and a step-by-step guide:
- First, open the car bike rack and make sure it is secure. Then, position the bike rack on the back of your car and adjust the straps to fit securely around the trunk or rear hatch.
- Now, lift your girl’s bike and place it onto the bike rack. Make sure it is centered and balanced, with the bike’s wheels sitting in the bike rack’s wheel trays.
- Next, secure the bike onto the bike rack using the adjustable straps or hooks provided. Make sure the straps are tight and the bike is stable.
- Finally, double-check that the bike is firmly attached to the rack before driving. Give it a little shake and make sure it is secure. Now you’re ready to hit the road with your safely secured girl’s bike on the car bike rack!
Let’s see now a step-by-step guide:
1. Adjusting the car bike rack to fit the size of the girls’ bike frame:
To adjust the car bike rack to fit the size of the girls’ bike frame, start by placing the bike rack onto the trunk or the back of your car. Ensure that it is firmly fastened and stable. Next, locate the adjustable straps on the rack. These straps are used to secure the bike and adjust it to the right size.
First, position the girls’ bike onto the rack and lift it up slightly so that the bike’s frame is level with the bike rack arms. Then, slide the straps underneath the bike frame, making sure they rest on either side of the bike’s top tube. This will help keep the bike in place and prevent it from sliding around while you drive.
Next, tighten the straps by adjusting the buckles. Pull on the straps firmly and make sure they are snug. However, be careful not to overtighten them, as this could potentially damage the bike frame.
Double-check that the straps are secure and that the bike is stable on the rack. Give the bike a gentle shake and ensure it doesn’t move or wobble.
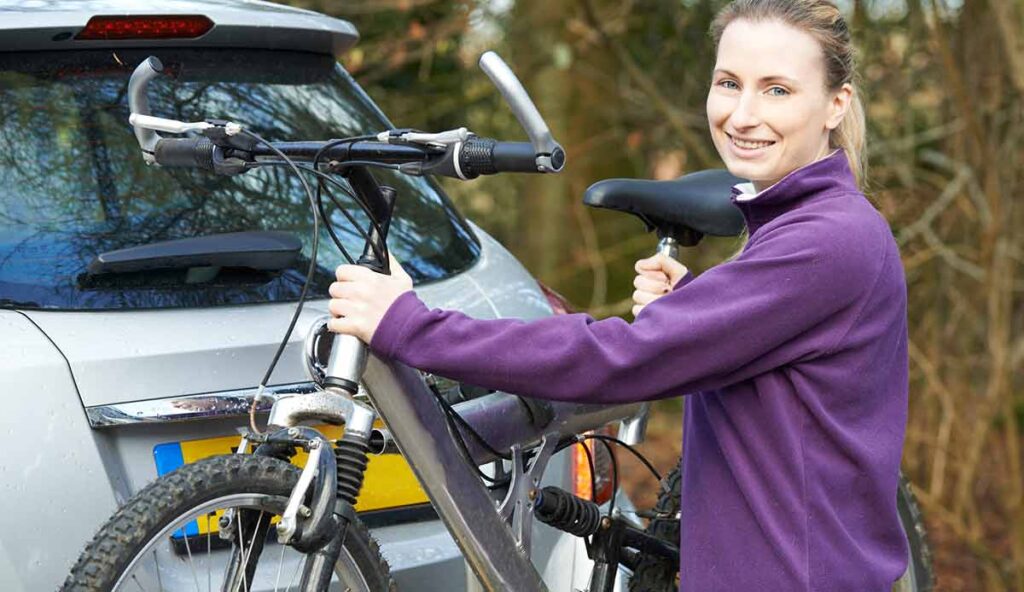
2. Gently lift the girls’ bikes onto the bike rack, ensuring stability:
To safely secure a girls’ bike onto a bike rack, follow these simple steps. First, position yourself beside the bike rack, ensuring that it is stable and in a secure location. Next, approach the girls’ bike from the side, making sure that you are holding onto the handlebars and the seat.
Gently lift the bike off the ground, using your legs to provide the necessary strength. Keep a steady grip on the bike as you move toward the bike rack.
Once you have lifted the bike and are standing in front of the bike rack, carefully align the front wheel of the girls’ bike with the designated space on the rack. Make sure the wheel is at the correct angle for easy placement.
Slowly and steadily, push the bike towards the rack, allowing the front wheel to glide into the designated slot. You may need to slightly adjust the position of the handlebars and the front wheel for a perfect fit. The bike should now be securely resting in the rack, with the front wheel securely in place.
Finally, it’s important to ensure that the girls’ bike is stable and secure on the bike rack. To do this, check that the bike is leaning against the rack without any wobbling or tilting. Gently give the bike a little shake to test its stability. If it feels loose or unstable, make any necessary adjustments by repositioning the bike on the rack.
Remember, the goal is to have the bike securely resting in the rack without any risk of falling or shifting during transportation. By following these steps, you can ensure that the girls’ bike is safely secured on the bike rack, ready for your next adventure.
3. Securely attach the bike rack to the car’s roof or trunk:
To securely attach a bike rack to your car’s roof or trunk, the first step is to gather all the necessary tools and equipment. You will need a bike rack specifically designed for your car model, as well as any additional straps or hardware that may be required.
Once you have everything you need, position the bike rack according to the manufacturer’s instructions. Make sure it is in the correct spot on your car’s roof or trunk, taking into consideration any weight limitations or weight distribution guidelines provided.
An accessory to firmly attach the girls’ bike to the car bike rack:
If you need to firmly attach a girls’ bike to a car bike rack you can get this Cheap And Easy-To-Install Accessory (crossbar) to use on bicycles without a top tube like girls (video). Here are the best:
You can use it especially if you own a rear-mounted (trunk or hitch) bike rack and it applies to your bike, not to the bike rack. So, technically speaking, it doesn’t matter what brand of bike rack you have (but some crossbars won’t fit e-bikes, check the product’s description).
This accessory is extremely helpful for all full suspension, step-through, and women’s style frames. Watch the following video to find out how you can install a crossbar in seconds.
Allen Sports Load Step Through, Suspension and Women’s Bikes onto Rear Rack Video:
Now, begin securing the bike rack by tightening the straps or bolts that came with it. Start by attaching the straps or bolts to the designated points on your car, ensuring a snug fit. Work your way around the bike rack, tightening each strap or bolt as you go. It is crucial to apply equal pressure on each attachment point to ensure stability and prevent any wobbling during transit.
Make sure the bike rack is secure and doesn’t move when you push or pull on it. Finally, give it a final inspection to ensure everything is tight and properly fastened before placing your girls’ bike on the rack.
Once you have successfully attached the bike rack to your car’s roof or trunk, you can now safely load your bikes onto the rack. Start by lifting your bike and placing it onto the rack, making sure that the tires rest securely in the designated slots or holders. Use extra straps or bungee cords, if necessary, to further secure the bikes to the rack.
It is essential to wrap the straps or cords tightly around the bike’s frame and the rack, preventing any movement or swaying. Take a moment to double-check that the bikes are properly fastened and won’t budge during travel.
4. Use adjustable straps or clamps to secure the bike to the rack:
To secure your girls’ bike to the rack, start by using adjustable straps or clamps. These handy tools are designed to keep your bike stable and secure during transportation.
Allen Sports Cargo Straps With Padded Cam Buckles
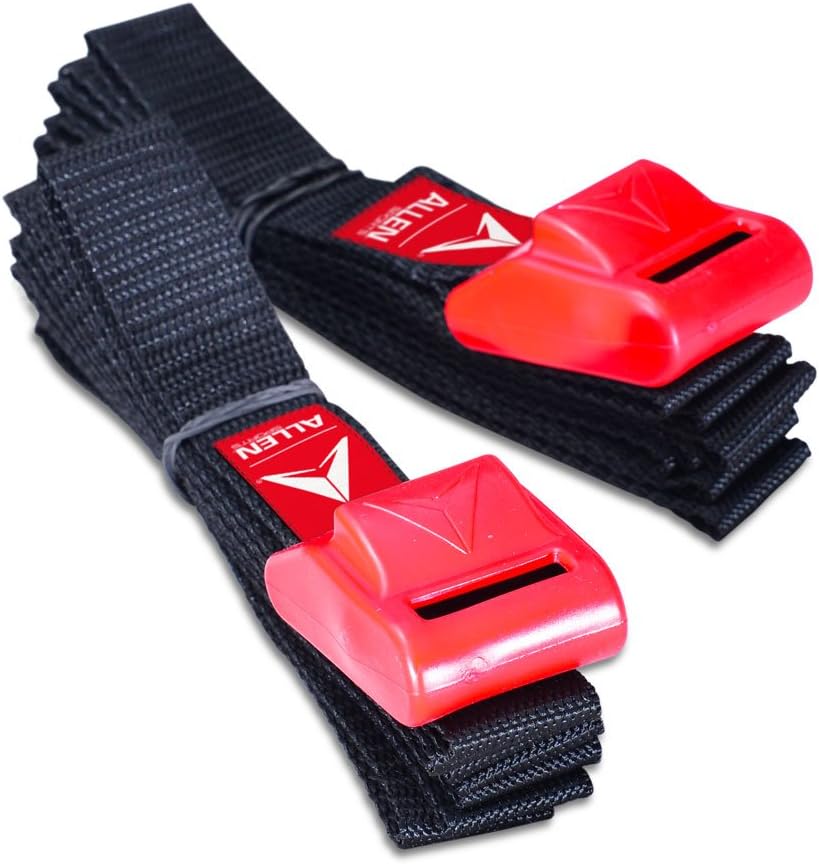
The Good
- Secures your surfboard, skis, snowboard, SUP, kayak, canoe, or any large or heavy load to your rack
- 500 lb break strength
- Won’t damage your cargo or vehicle
- Includes (2) 8-foot (96 inches) cargo straps with cam buckle
- UV-resistant, water-resistant, and abrasion-resistant; they’re indestructible and won’t break down from wear and tear
The Bad
- A few customers said they seem lightweight and thin for extra heavy-duty usage but they never tested them
- A few customers said they were not long enough for their needs but the product description says its dimensions
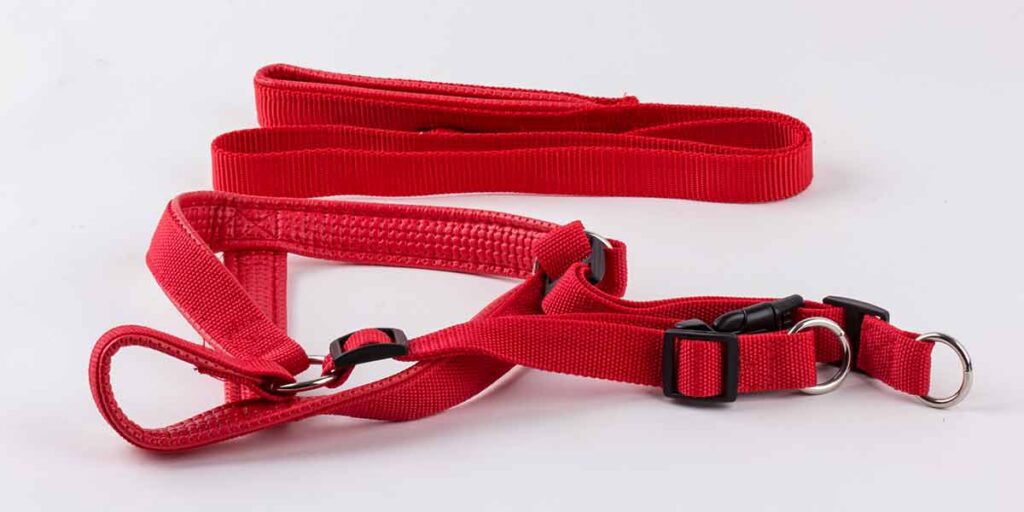
Boncas Adjustable Straps Accessory
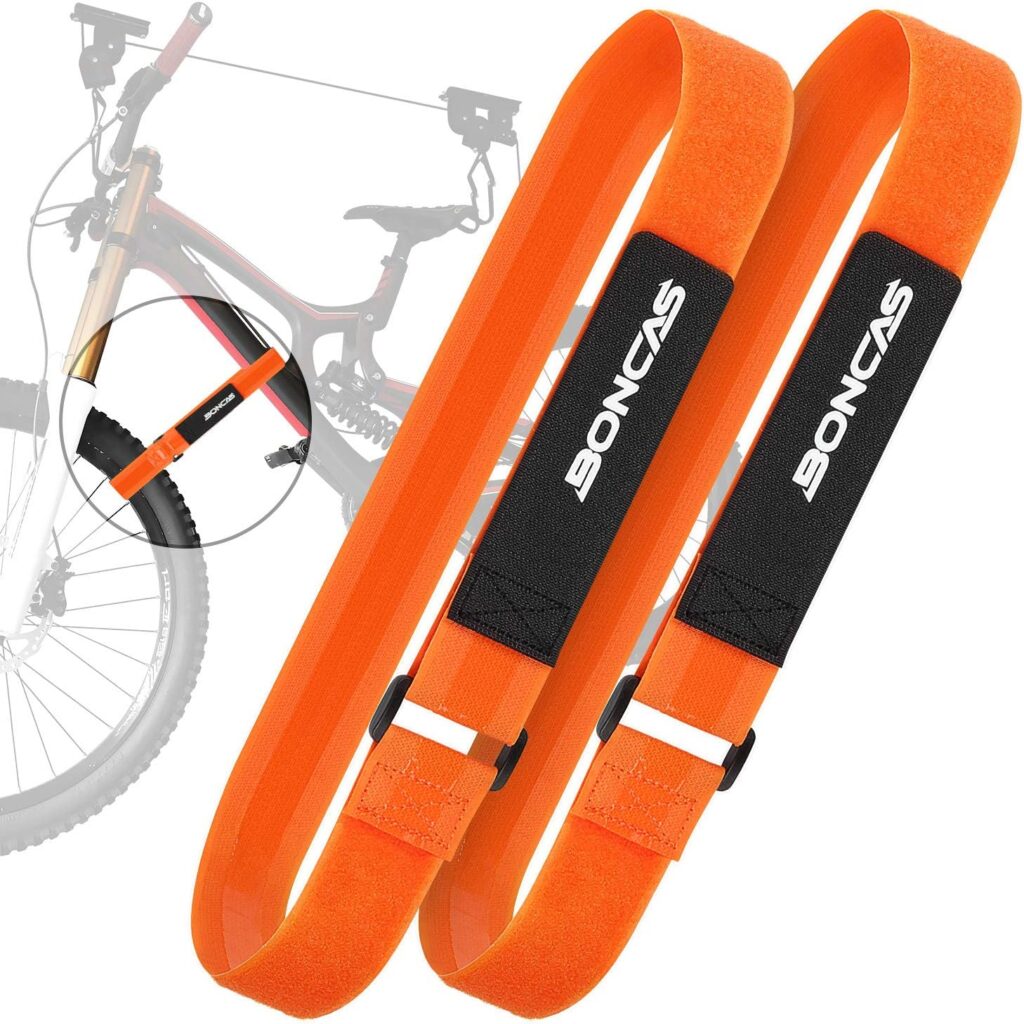
The Good
- Stabilizes the bicycle wheel from spinning
- 24″ inches long
- 2 pieces in box
The Bad
- A customer said it was not long enough for a modern MTB bike 2020 Rockhopper front wheel to frame
You can also use cheap solutions like the following products:
Begin by placing the straps or clamps around the bike frame, ensuring they are tight enough to hold it in place but not so tight that they cause damage. Adjust the straps or clamps as necessary to ensure a snug fit.
Next, make sure to position the straps or clamps in the appropriate locations. This will vary depending on the type of bike rack you are using. Generally, you should aim to secure the bike at multiple points to distribute the weight evenly and minimize movement during transit. For example, you might use one strap or clamp near the handlebars and another near the back wheel.
Check the manufacturer’s instructions for your specific bike rack to ensure you are correctly positioning the straps or clamps.
Once the straps or clamps are in place, give them one final check to ensure they are secure. Gently tug on the bike to test for any movement or instability. If the bike feels loose, readjust the straps or clamps as needed until it feels secure.
You might need to stop your bike rack from wobbling on your hitch, so you can get this Cheap And Easy-To-Install Hitch Tightener (video).
MaxxHaul Hitch Tightener For Transport on Step-Through Style Bikes
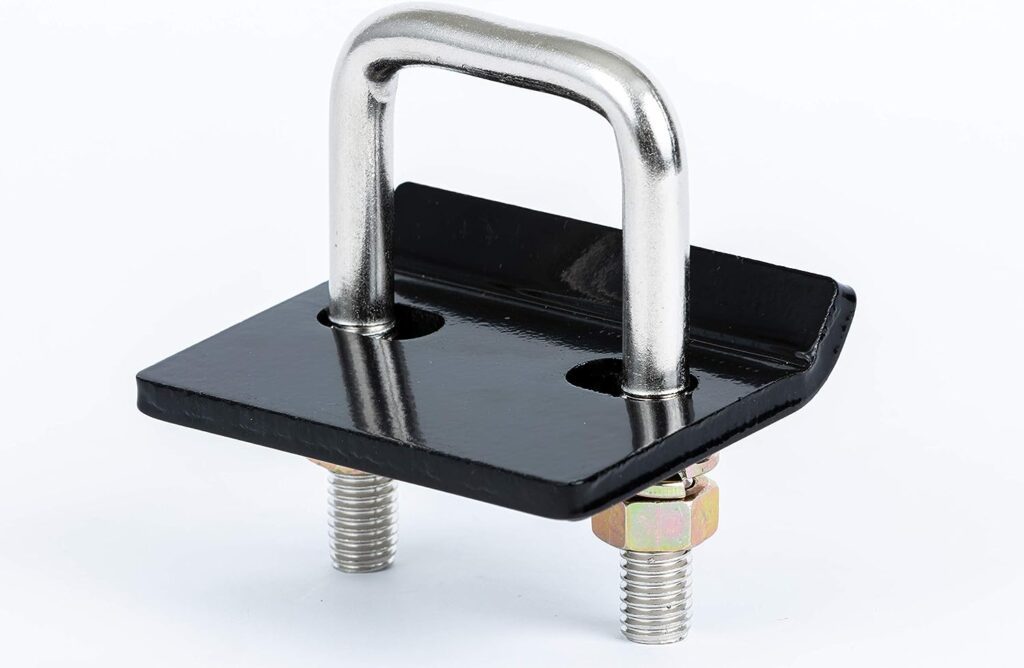
The Good
- Anti Rattle Stabilizer for 1.25″ to 2″ hitches
- Reduces movement on hitch-mount cargo carrier bike rack
- Heavy-duty steel plate
- For Class I, II, III, and IV or 1. 25″ or 2″ receiver hitches
- Very affordable price
The Bad
- A customer said threads strip when tightening
- The U-bolt can get rusted
Stop your bike rack from wobbling with MaxxHaul Hitch Tightener (video):
Remember, it’s important to double-check the security of the straps or clamps before hitting the road to avoid any potential accidents or damage to your bike.
Conclusion
Finally, learning how to properly mount a girls’ bike on a car bike rack will greatly benefit you and will enhance your outdoor adventures.
How to put a girls’ bike on a car bike rack? The answer is: By adjusting the car bike rack to fit the size of the girls’ bike frame, gently lifting the bike onto the rack with stability in mind, and securely attaching it to the car’s roof or trunk, you can ensure a safe and hassle-free transportation experience.
This knowledge enables you to conveniently transport your bike to various destinations without the need for additional equipment or costly transportation services. The ability to easily and efficiently transport your girls’ bike will not only expand your exploration possibilities but also save you valuable time and effort.
Start practicing these steps, and soon you’ll be enjoying countless bike rides in new and exciting locations.
FAQ – How to put a girls’ bike on a car bike rack:
- Can I use a car bike rack to transport a girls’ bike?
Answer: Absolutely! Car bike racks are designed to accommodate various types and sizes of bikes, including girls’ bikes. With the right adjustments and proper technique, you can securely transport a girls’ bike on a car bike rack. - What type of car bike rack should I use?
Answer: The type of car bike rack you choose depends on your specific needs. However, a hitch-mounted rack or a trunk-mounted rack usually works well for girls’ bikes. Both options offer stability and security during transportation. - How do I prepare the girls’ bike for mounting?
Answer: Begin by removing any detachable accessories such as baskets, bells, or streamers from the bike. Lower the bike seat and handlebars, if possible, to make the bike more compact. Secure any loose cables or chains, ensuring they won’t get caught during transportation. - How do I install the car bike rack correctly?
Answer: Depending on the type of rack, installation steps will vary. Generally, follow the manufacturer’s instructions provided with your bike rack. Ensure the rack is securely attached to the vehicle and properly aligned. Double-check all mounting points to guarantee a stable base for the bike. - How should I position the girls’ bike on the car bike rack?
Answer: Position the girls’ bike so that the frame is parallel to the ground. Make sure the bike is centered on the rack to distribute weight evenly. Avoid any contact between the bike frame and the vehicle or other bikes to prevent scratches or damage. - How do I secure the girls’ bike to the car bike rack?
Answer: Use the provided straps or bungee cords to secure the bike to the rack tightly. Start by fastening the straps near the wheels and then move towards the frame. Ensure the straps are snug, but not overly tight, to prevent damage to the bike or the rack. - How can I further protect the girls’ bike during transportation?
Answer: To protect the bike from scratches or other damage, consider using padding or a bike transport cover. These can be wrapped around the bike frame or placed between the frame and any metal parts on the rack. - Are there any safety concerns I should be aware of?
Answer: Absolutely! Always double-check that the bike is securely fastened before driving. Make sure the bike does not interfere with visibility or any moving parts of the vehicle. Also, ensure the weight of the bike does not exceed the recommended limit for your car bike rack. - Can I open my trunk or rear hatch with the bike on the rack?
Answer: It depends on the type of car bike rack and your vehicle’s configuration. Some trunk-mounted racks can be tilted or swung away from the vehicle, allowing access to the trunk or rear hatch. Refer to your specific rack’s instructions to determine if this feature is available. - Any tips for a successful trip while transporting a girls’ bike?
Answer: Before hitting the road, it’s a good idea to periodically check the bike throughout the journey to ensure it remains securely fastened. Also, adjust your driving style to minimize excessive acceleration, abrupt braking, and sharp turns.
Remember, always follow the instructions provided by the bike rack manufacturer and take necessary safety precautions to ensure a smooth and secure transportation of your girls’ bike.
Thank you for reading this article!


- Locking Bike Hitch Rack - 17/03/2025
- Bicycle Protective Gear for Adults - 17/03/2025
- How to Find Bike Trails - 16/03/2025